Pool Mat Shelf
A better way to store pool mats in the pool shed
Background
With the new buildings out back (more on this in an upcoming post) we decided it was time to organize the pool shed a bit better. I had rigged up a flimsy shelf with big-box-store brackets, but stuff kept falling off, so it was time for something better.
The Design
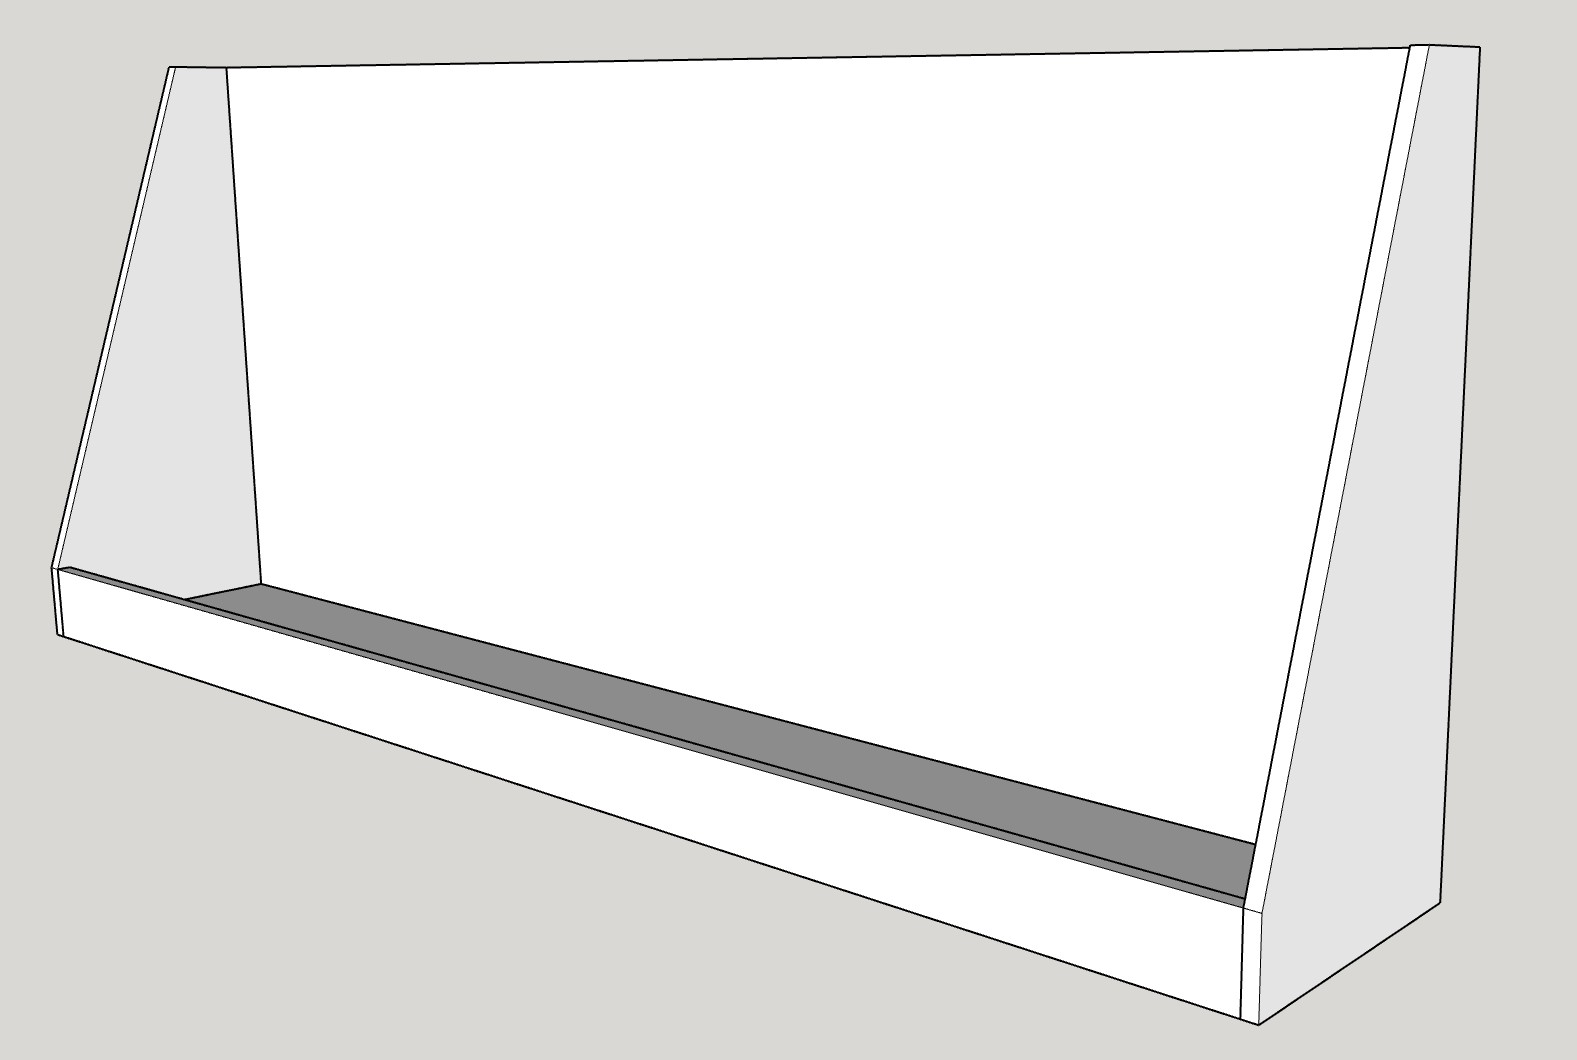
Sketchup was surprisingly helpful here. It usually is, but in this case the design helped to flesh out a few things that might be a concern. More on that below.
It is basically all plywood held together with dominos. Lots of polyurethane to keep the water out, it is holding pools things after all.
Construction
There really is something special about working with nice Baltic Birch plywood. It feels like a quality material, because it is. Pricy, yes, but worth it in my opinion: strong, stable, straight, but very workable with almost no voids. The cheeps stuff always disappoints and frustrates, often in the middle of the project. Grrrr.
The Basics
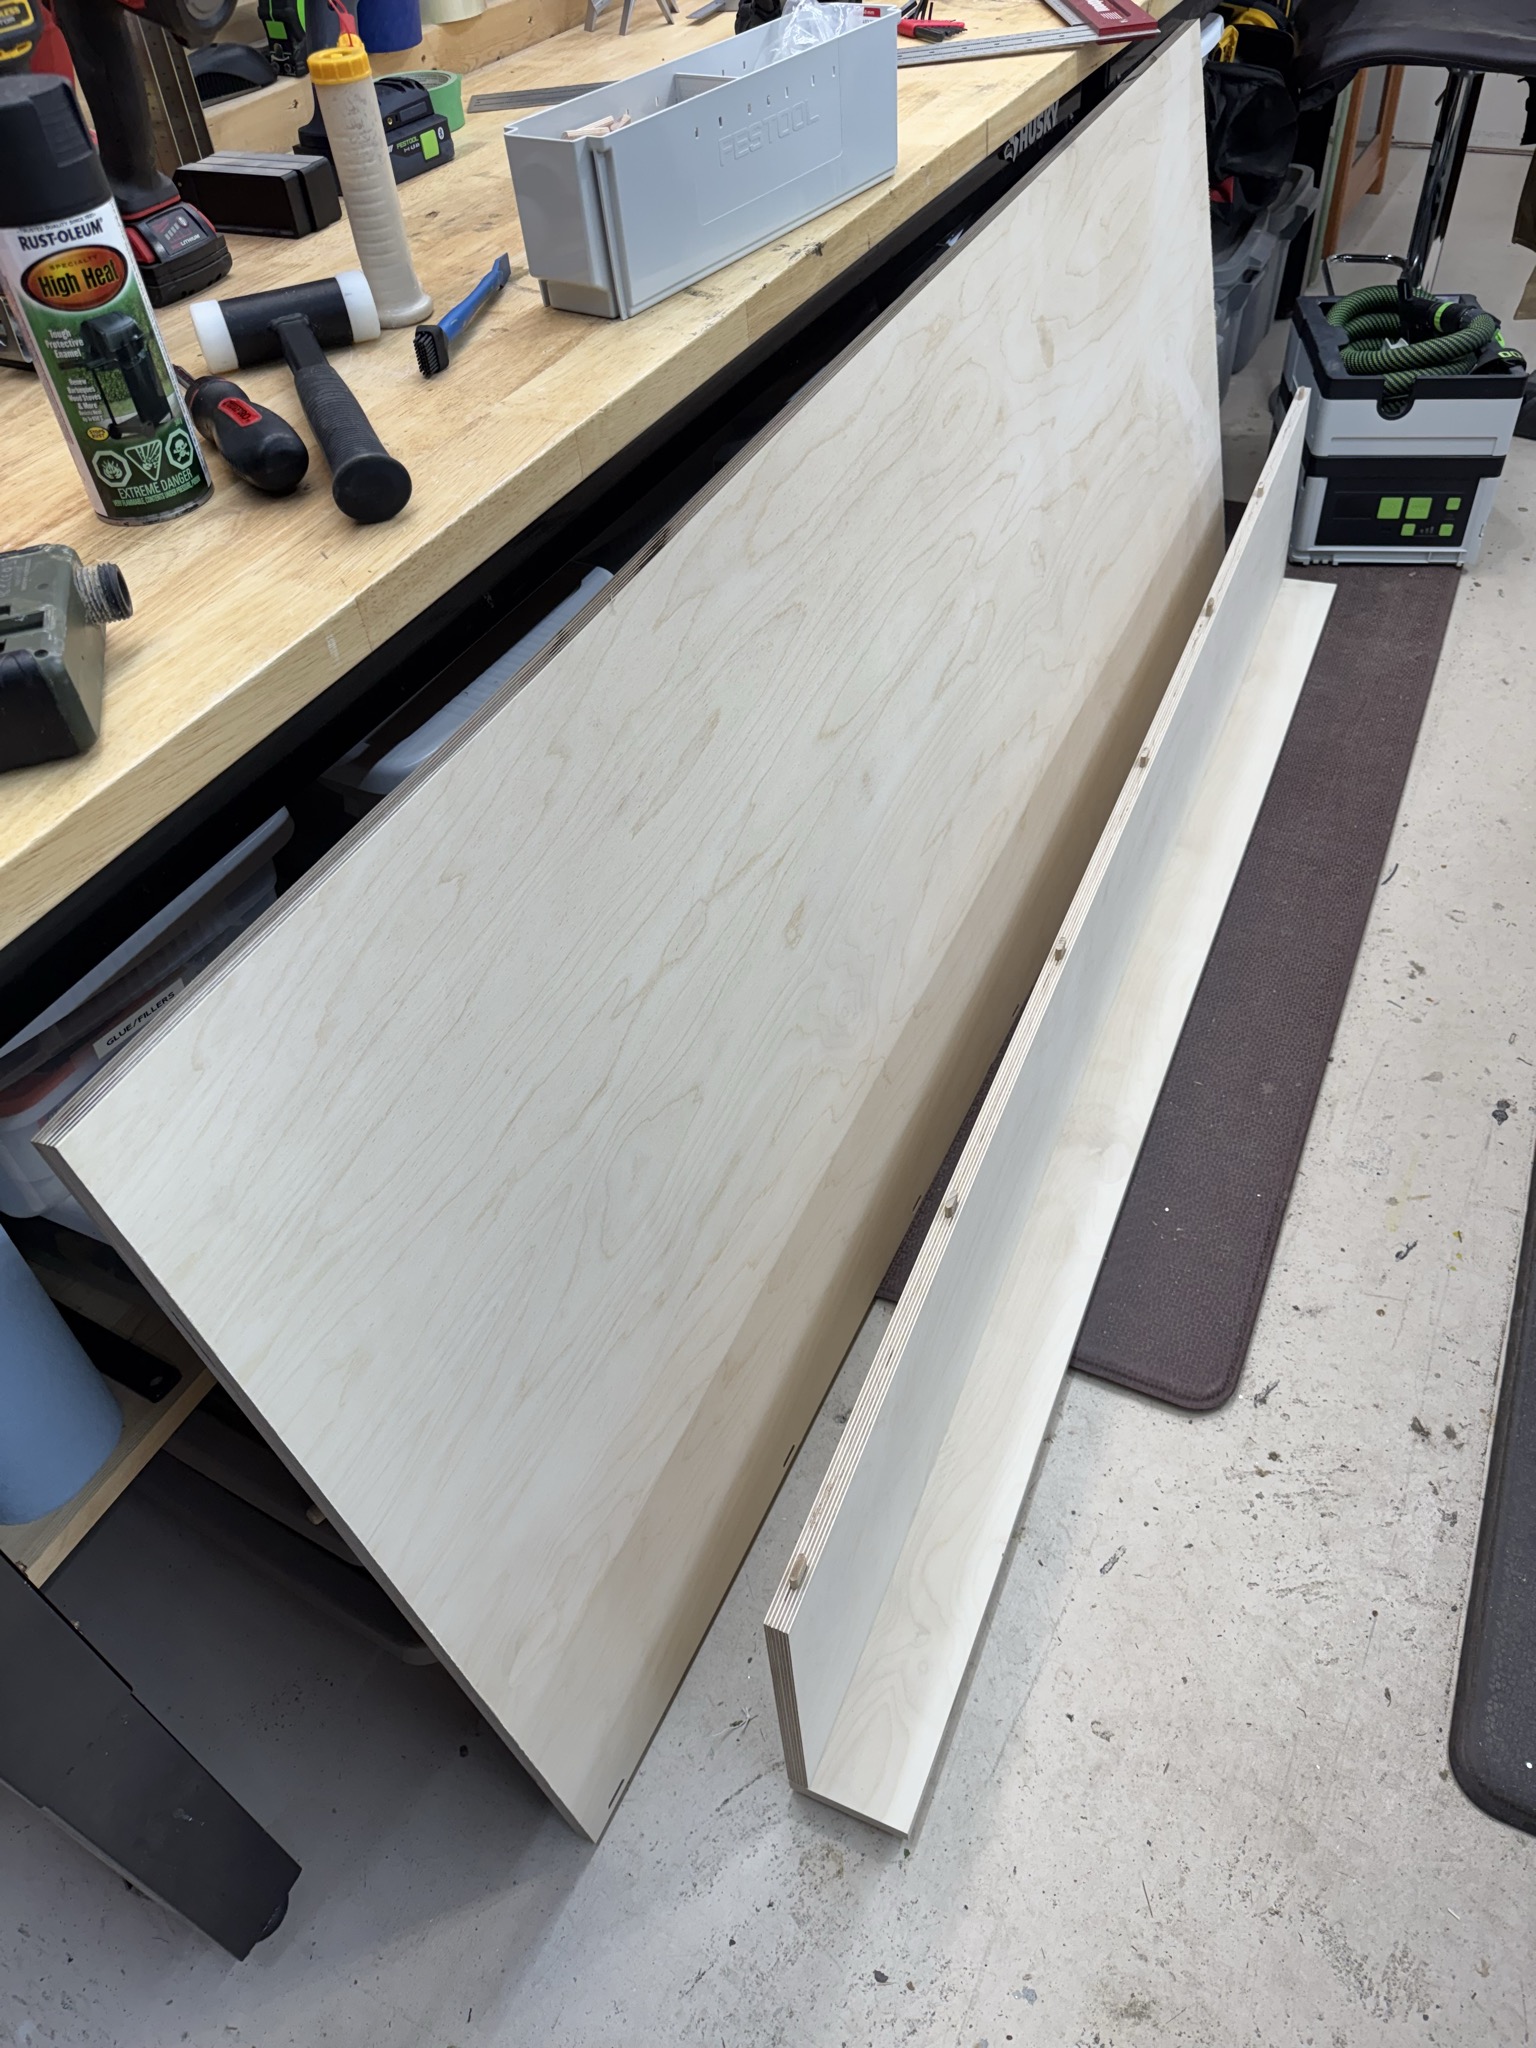
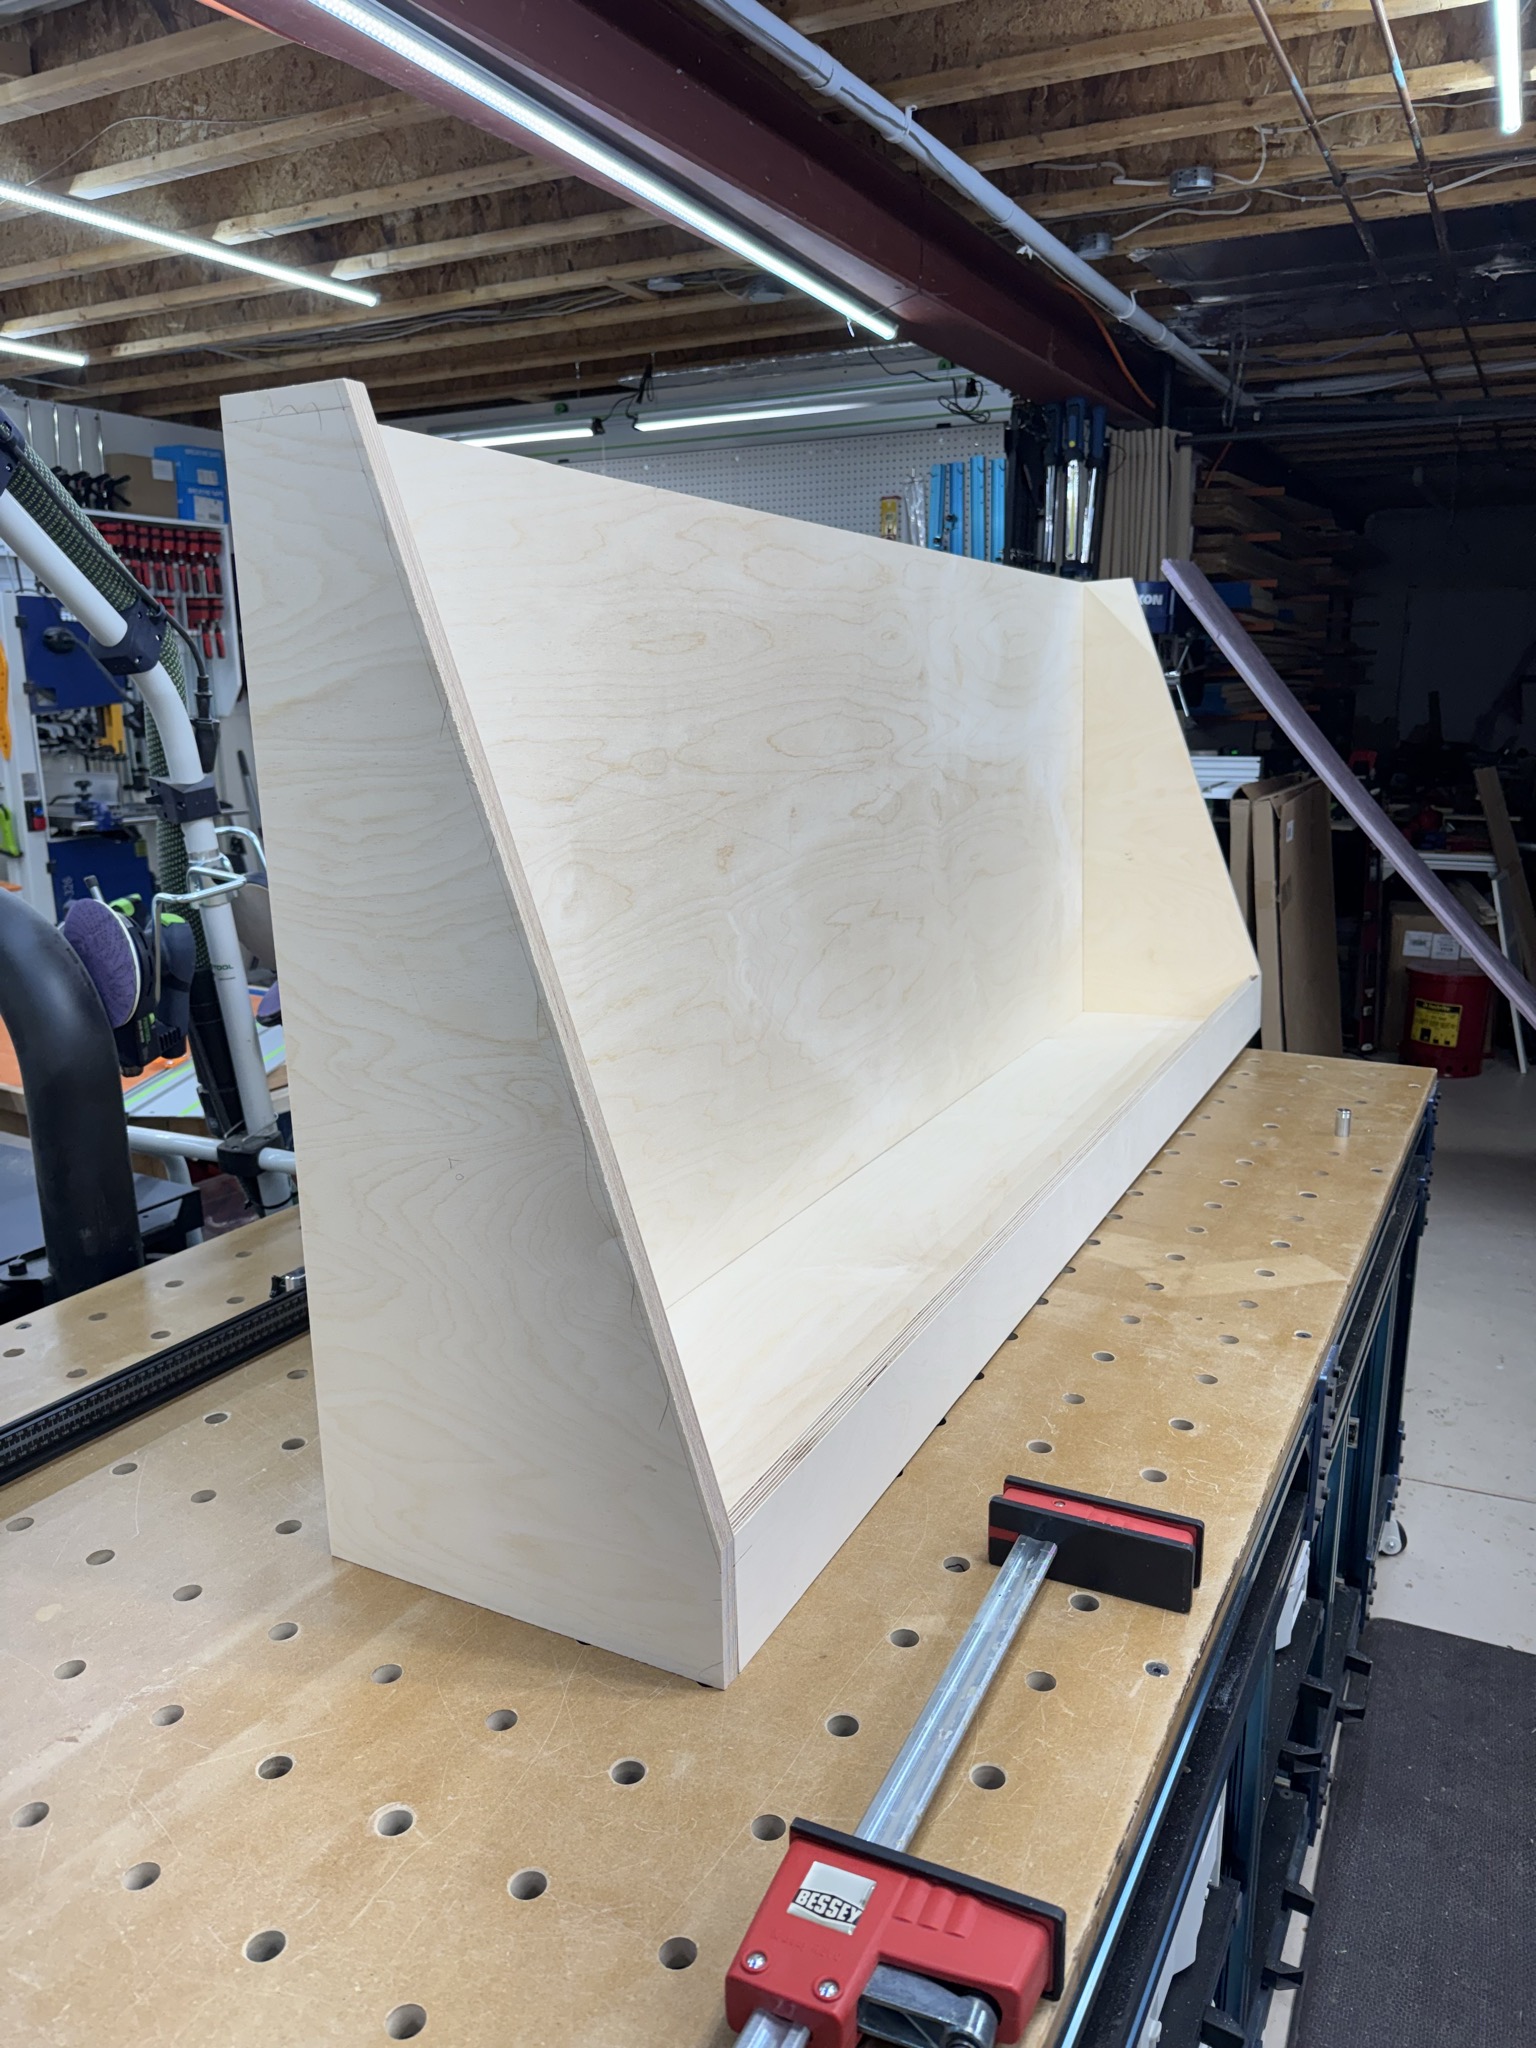
The back, bottom, and front were pretty straightforward. Cut them all to the same length,put the domino holes in the right places, and glue them together.
Not much to see here.
Advanced Dominos
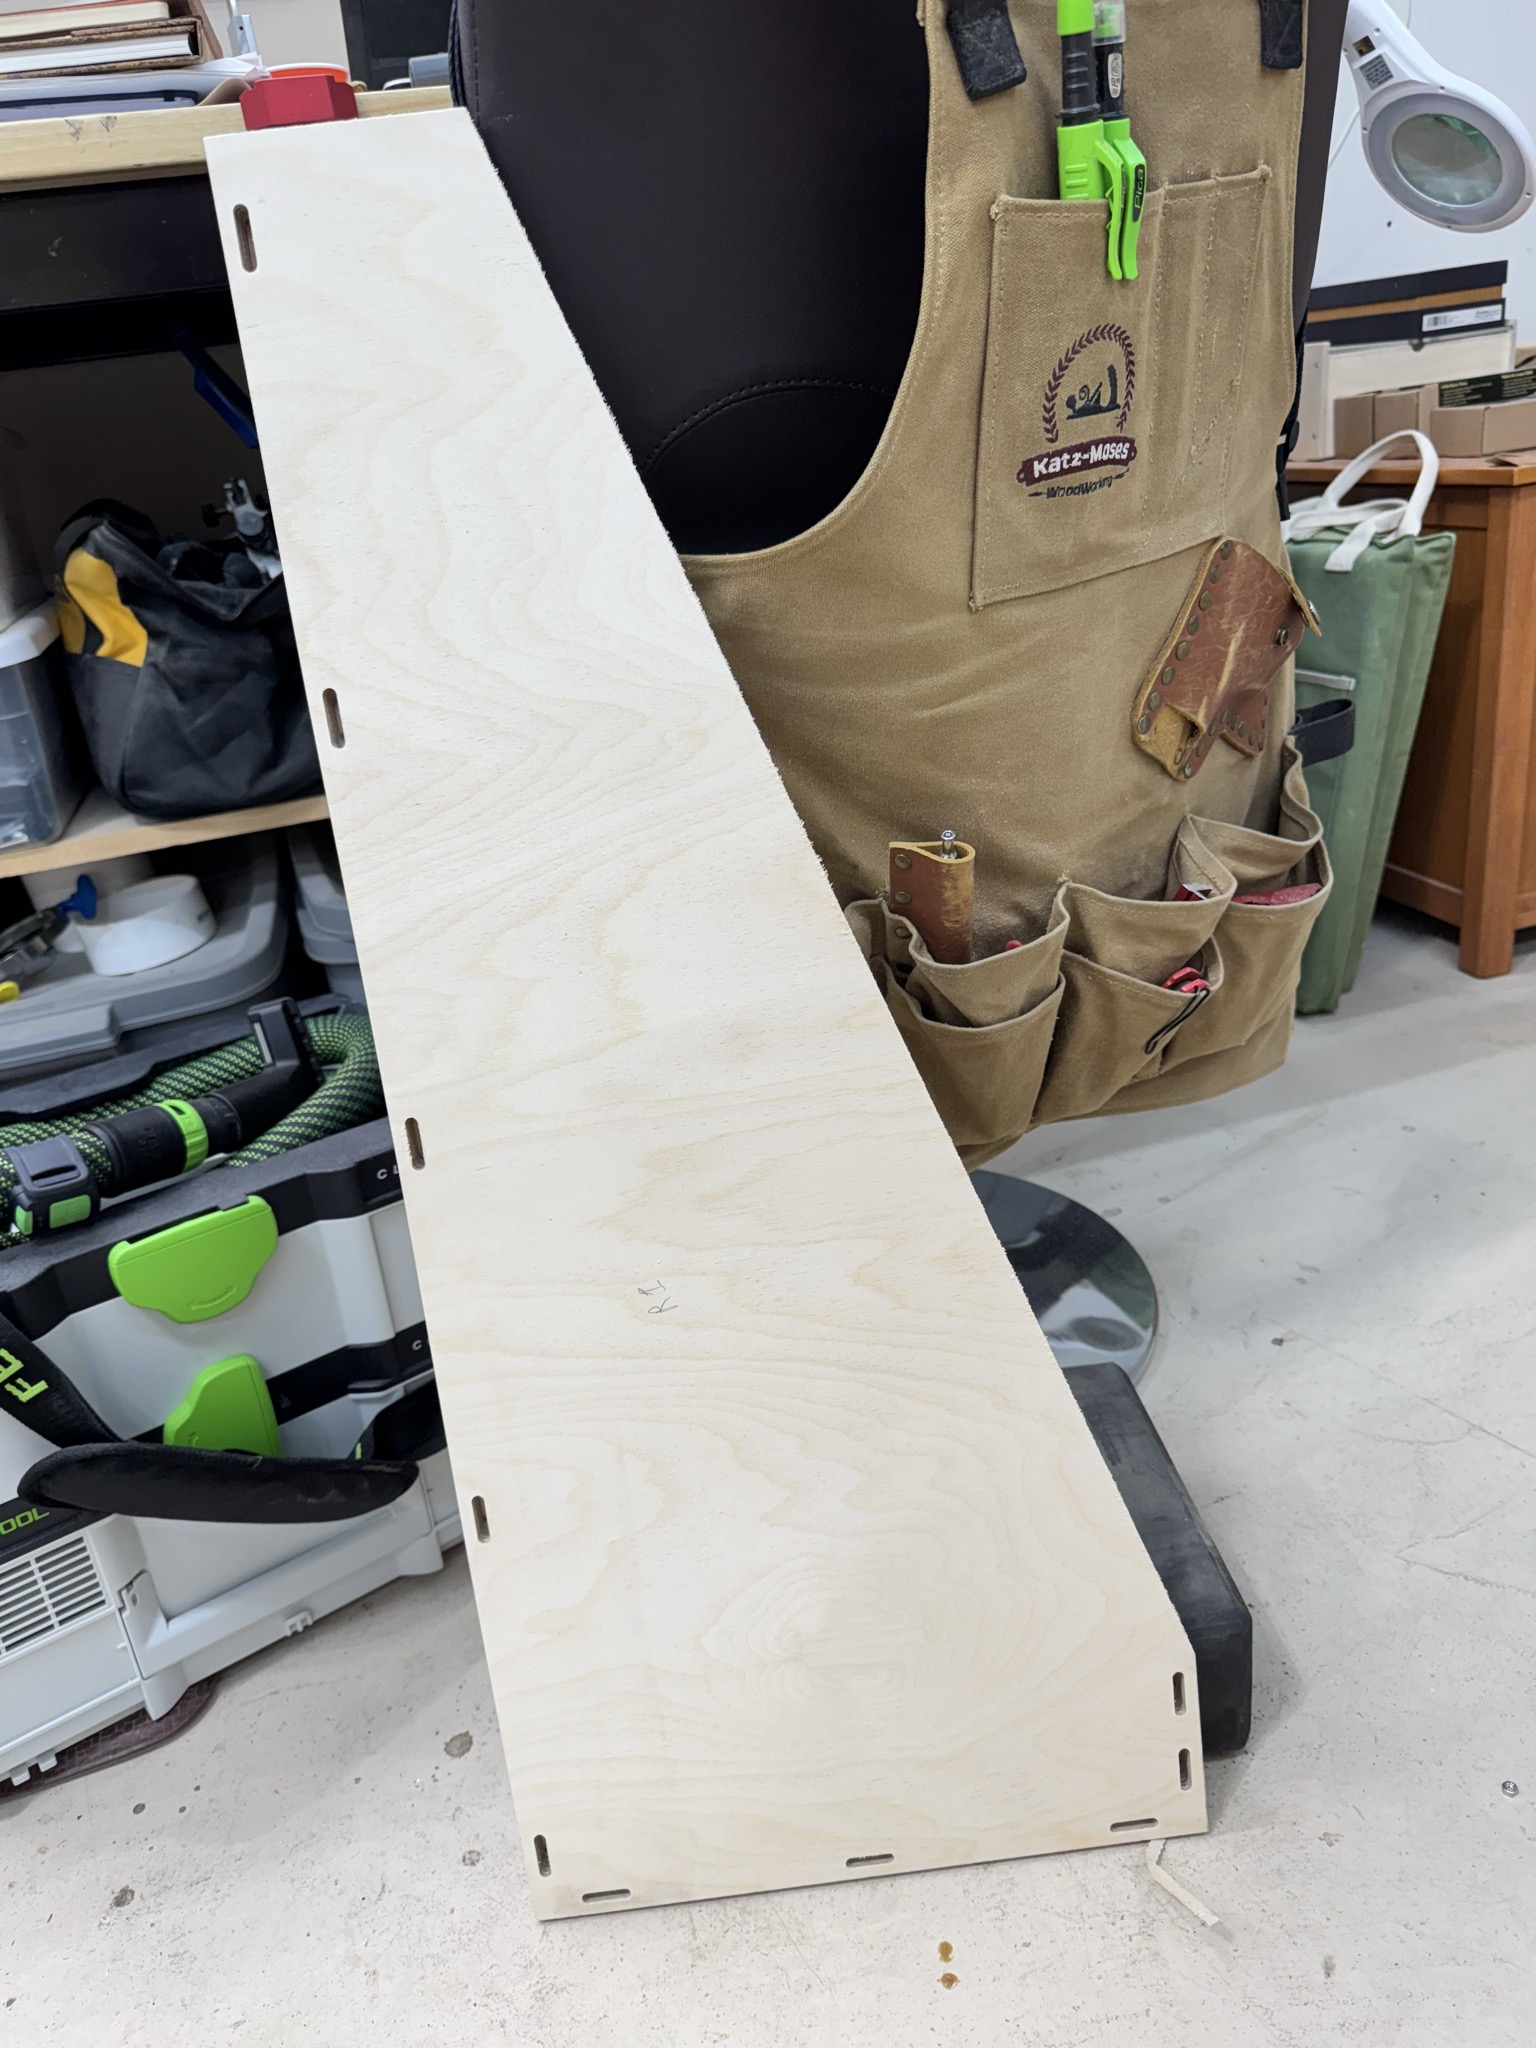
The hard part in this one comes the moment you try to multi-level joinery with the domino. As you can see from the picture here, there are two vertical rows of dominos on the sides, and one horizontal row at the bottom.
When you do this, it becomes very tricky because your measurements now have to be almost spot on. The pieces going into these domino holes have already been cut to length and glued up, so you have to cut the domino holes in this piece in exactly the right spot, both horizontally and vertically.
The thing is, you are referencing off of three different surfaces, when one always prefers to reference off the same surface if you can. I couldn’t do that here.
Cutting the angled sides was fun, and was done with a track saw. Nothing fancy, just marked a line where the cut was to go, dropped the track on top and made the slice.
To domino or not to domino: Now the woodworking types out there might be saying, “Why use dominos when some pockets holes and screws would do just fine?”
And you might be right. It would probably do fine, but would it be as good?
The dominos add a lot of strength in this particular configuration, something that screws or pocket holes cannot match. And I like to practice these kinds of things anyway, so you do you, and I’ll do me.
Assembly
Dry-fit
To make sure that everything lined up properly I did a full dry-fit. Dry-fit just means to put it all together without gluing anything first. Low and behold it all lined up.
I think the thing that made it work is that I glued up all the “basic” parts first, then took measurements of that subassembly before cutting the sides. That way the sides were cut to the exact size of the completed front/back/bottom, and they fit perfectly.
Clamps
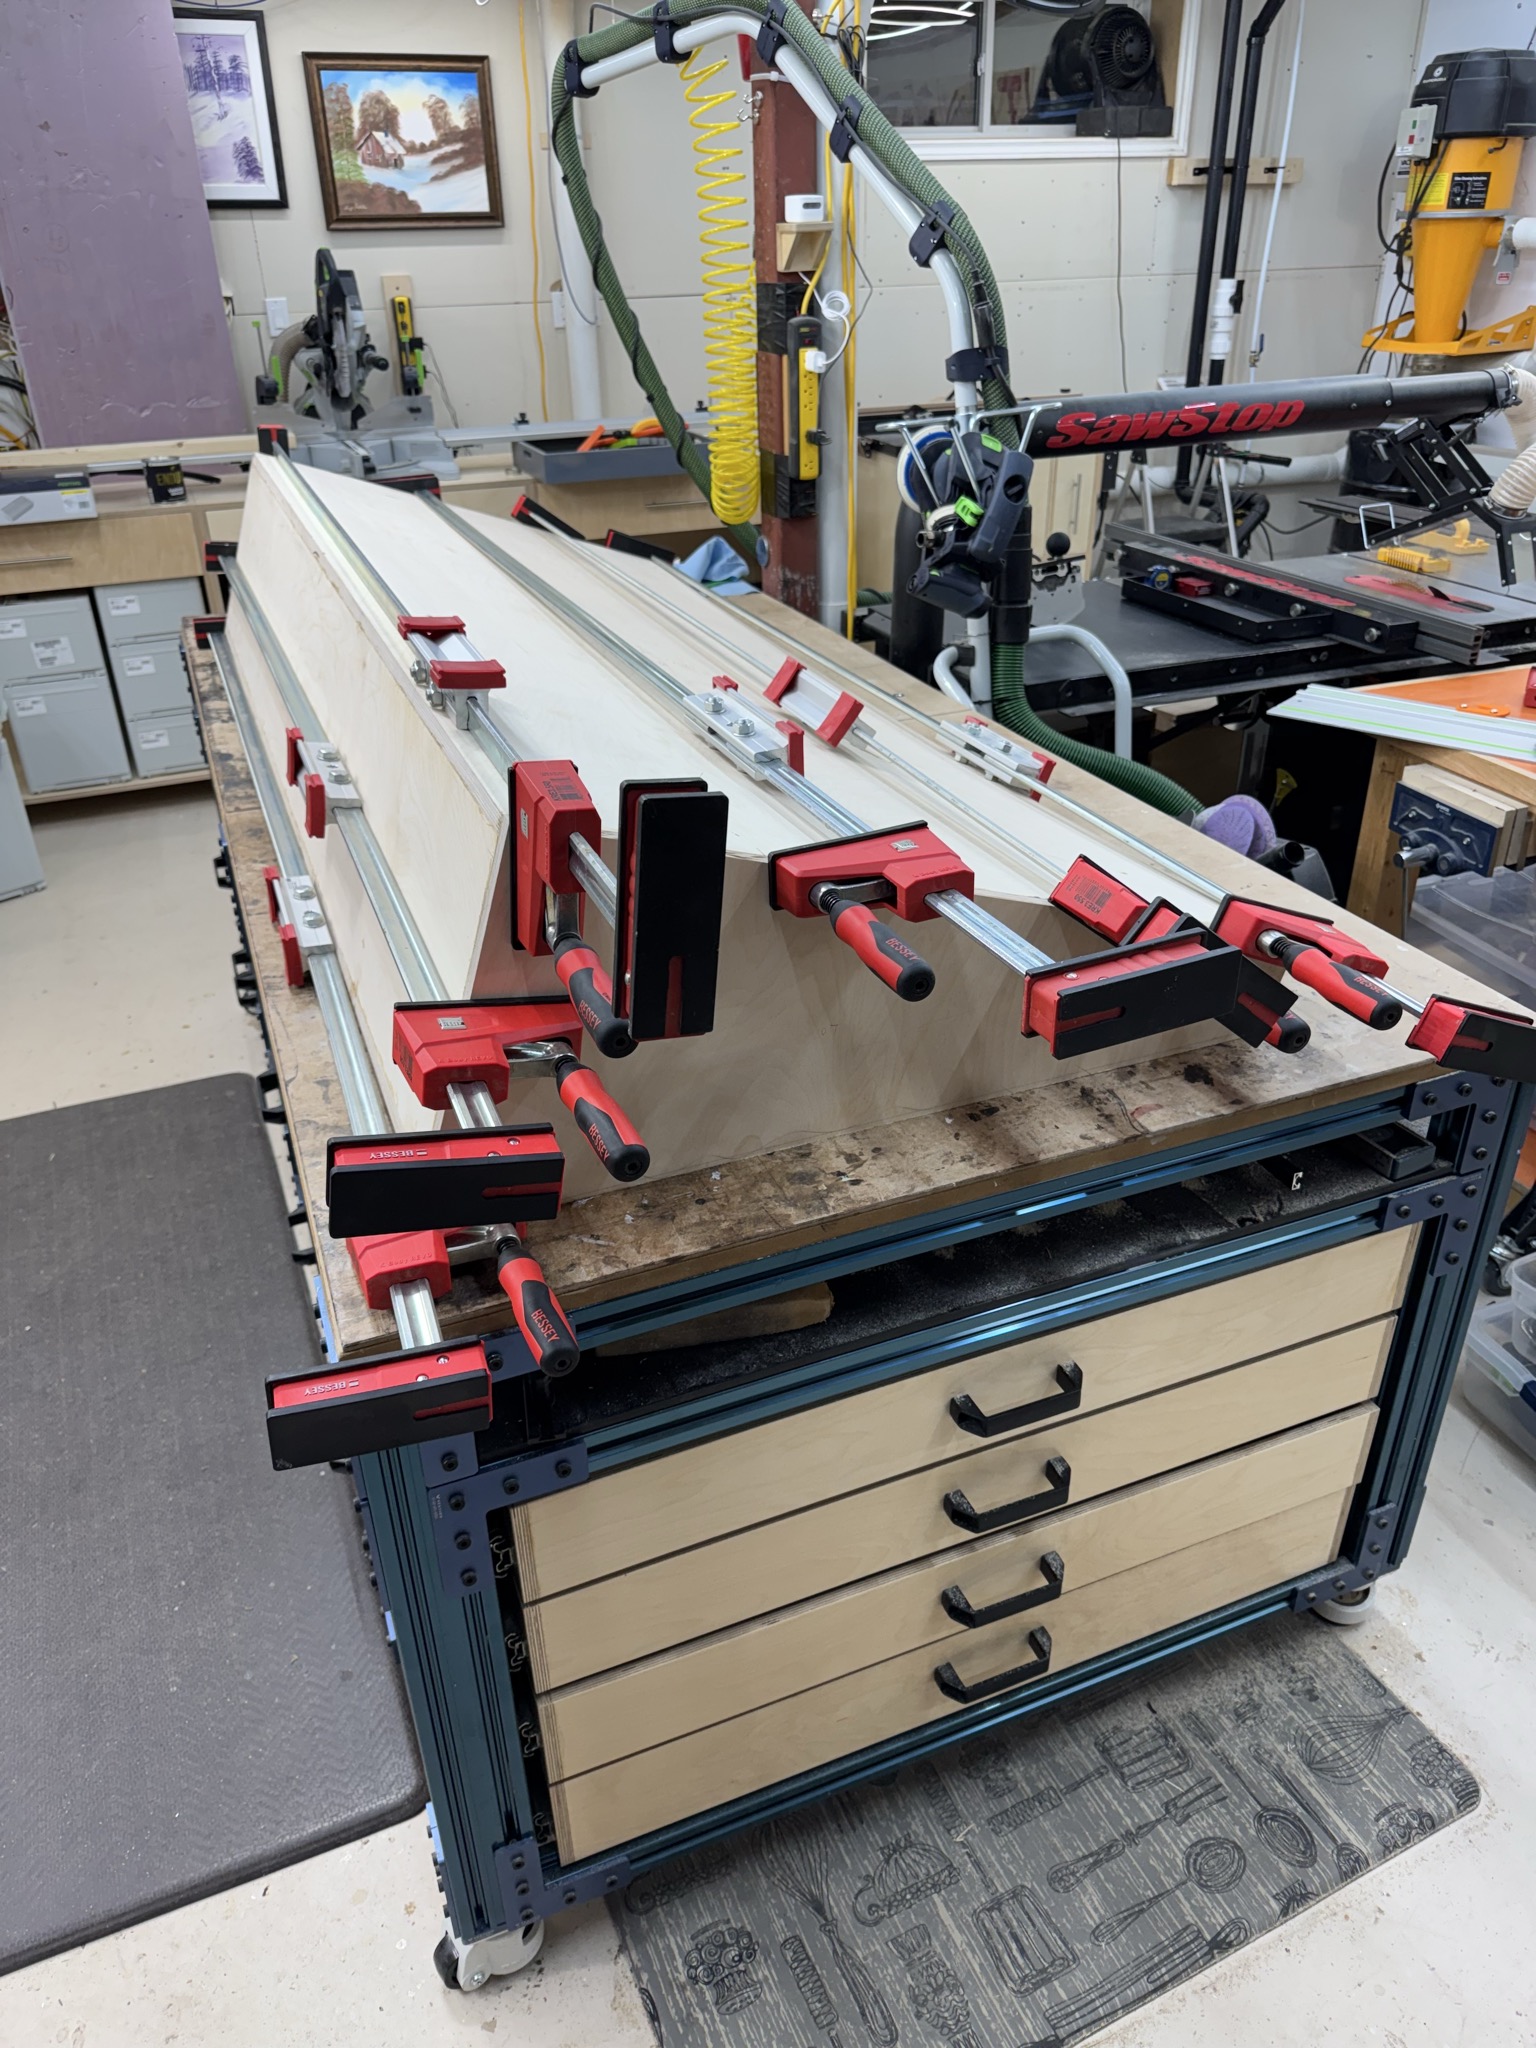
Clamping the front/back/bottom was pretty standard stuff.
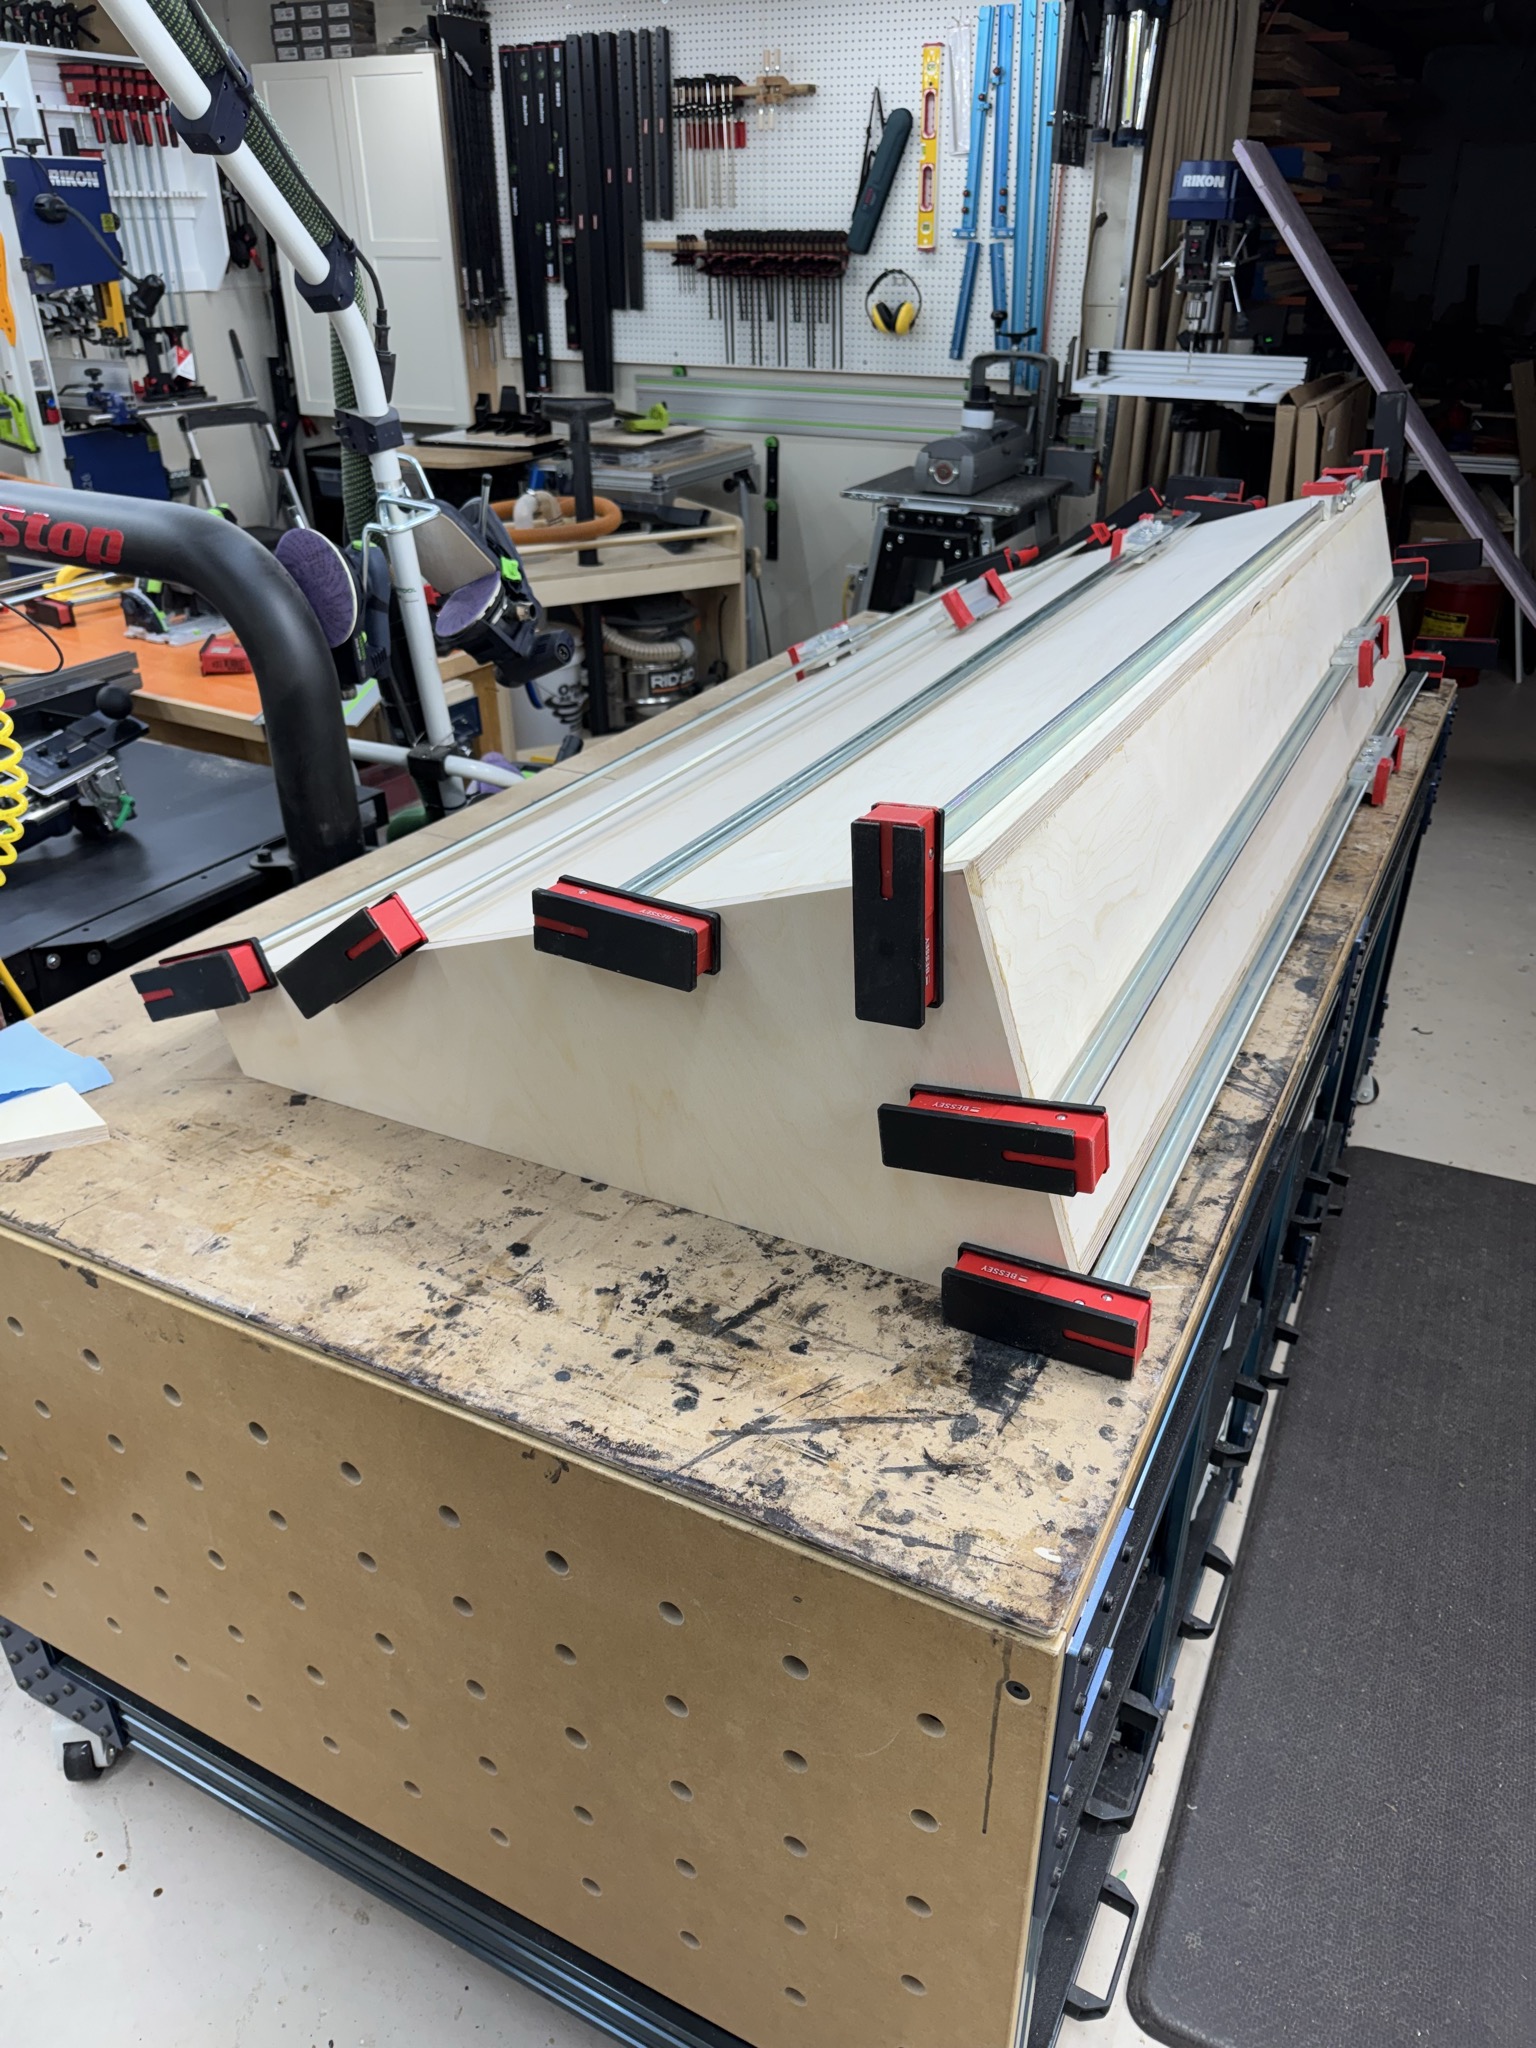
Clamping the sides however was a bit more complicated: First, there was the whole multi-dimensional rows of the dominos in the sides thing going on, which induced mild panic when trying to fit things in. Even though the dry-fit was successful, putting glue on things changes everything. Things don’t quite fit as nice and easy as they did when dry, and now you are on a ten minute timer to get everything together and clamped up.
Second was the fact that this shelf is almost 2 meters long (6ft 6in). I do not have any clamps that long so I had to use a nifty extender thing that will join two shorter clamps together to make one long one. They are a bit of a pain to setup, but super handy to have in this kind of situation.
In Production
French Cleat
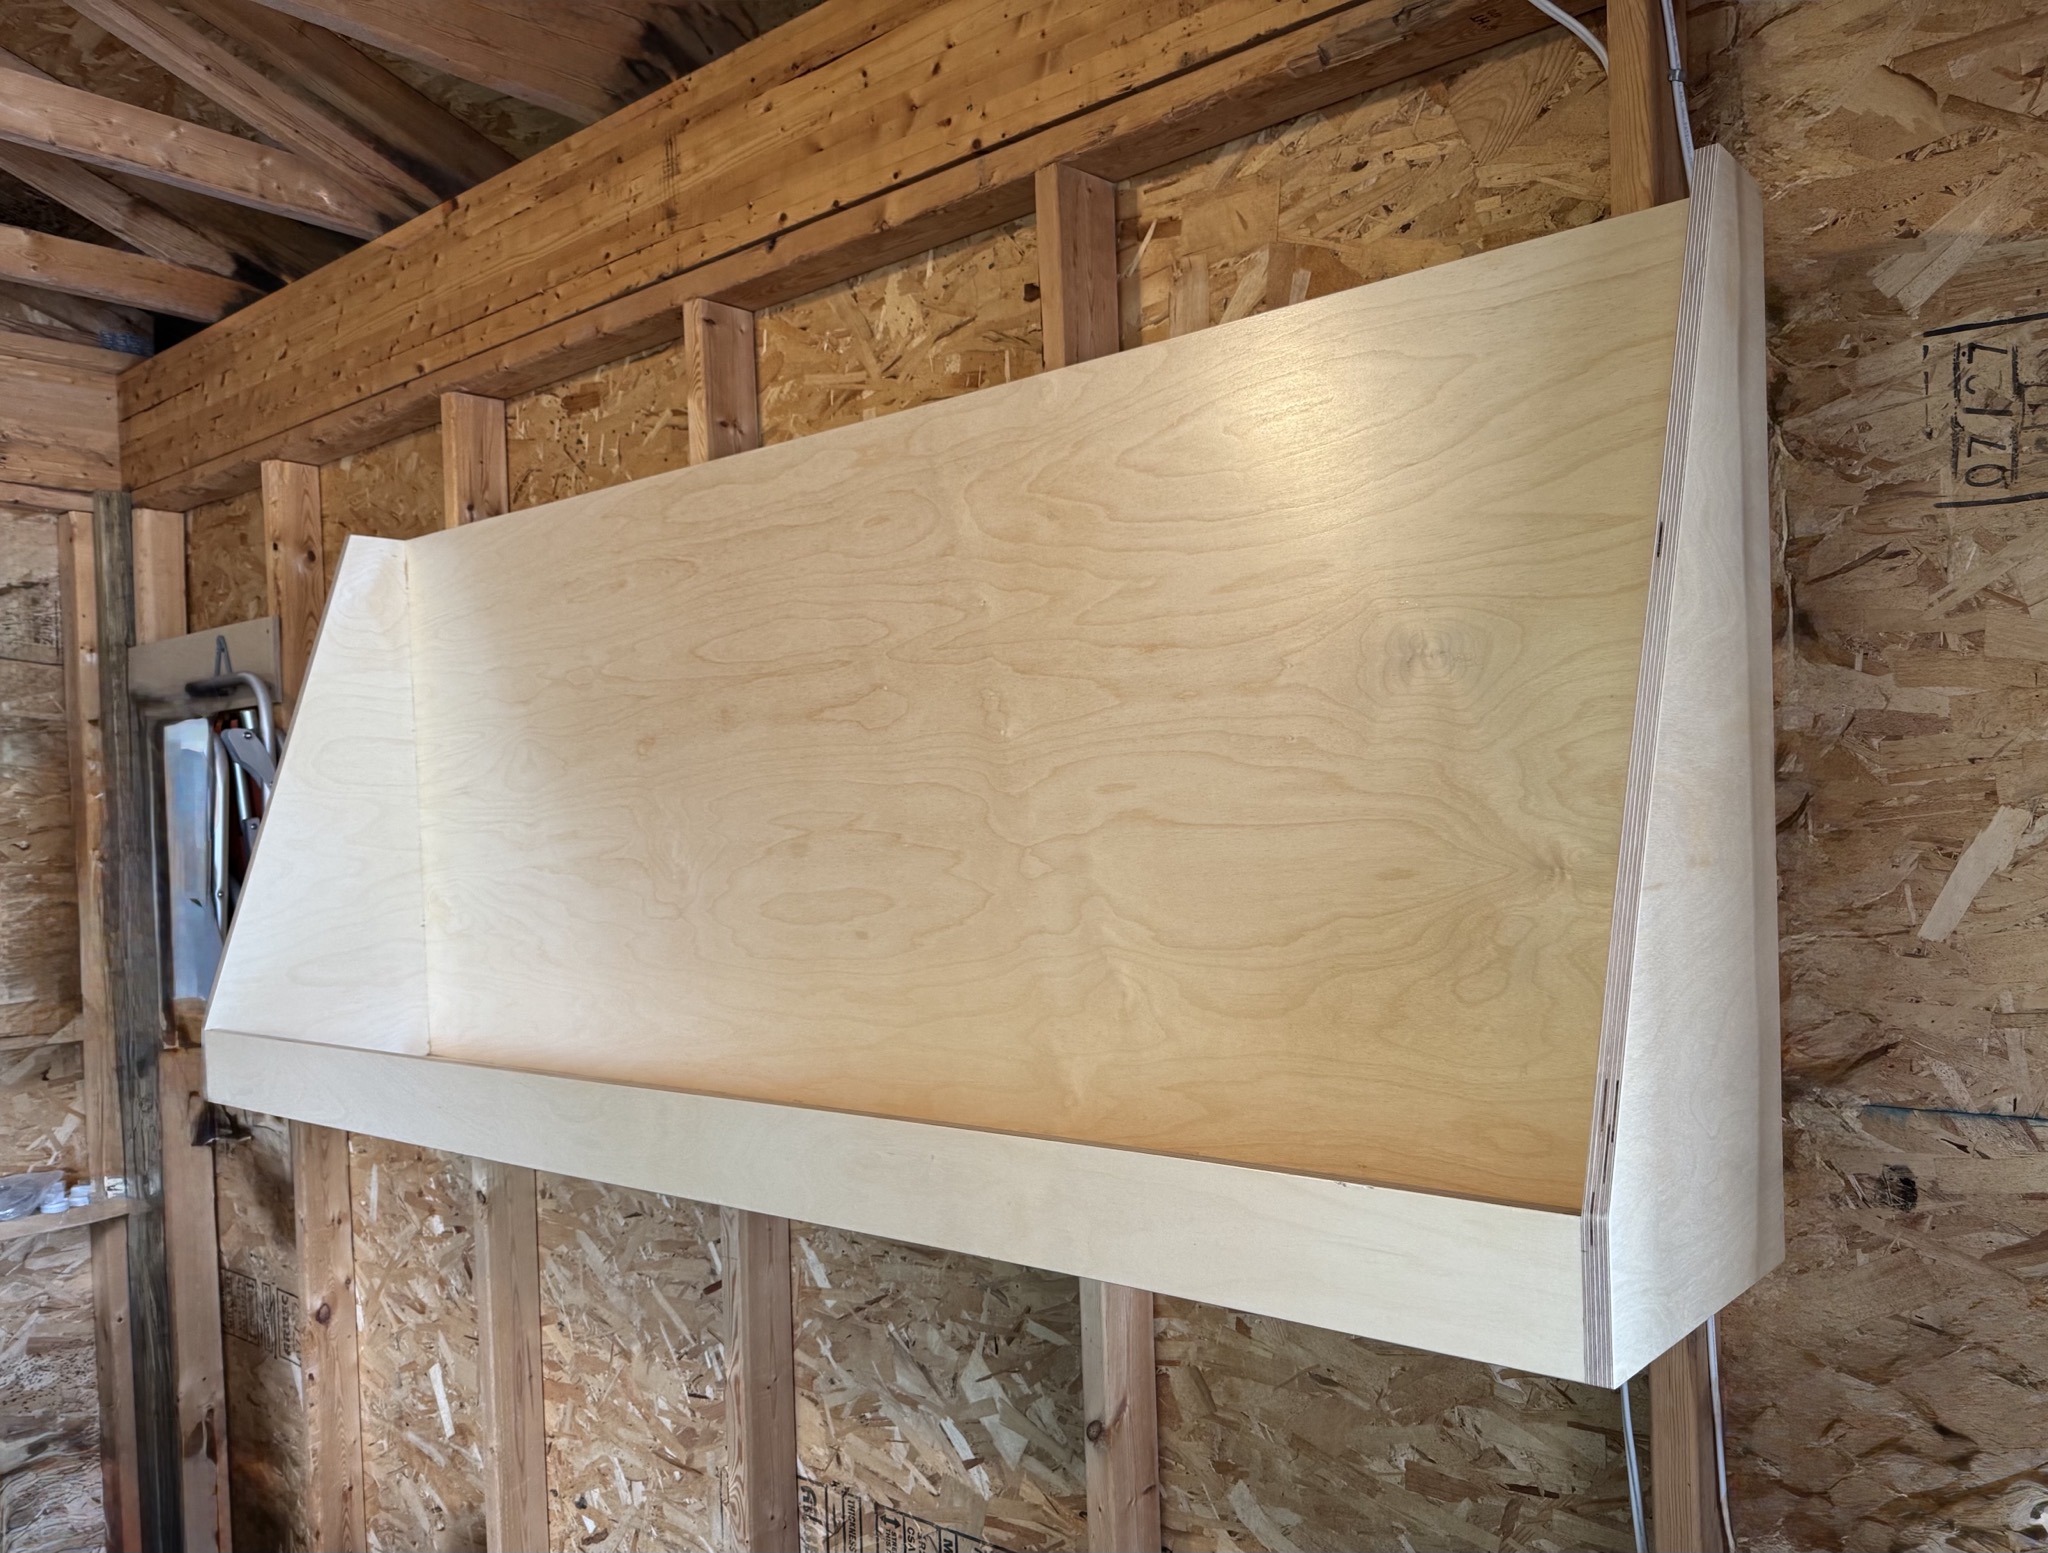
I used a french cleat to mount the shelf to the side wall of the pool shed.
Cleats are a great way to mount things like this, since all you do is mount and level a small cleat to the wall, then throw the shelf up onto the cleat.
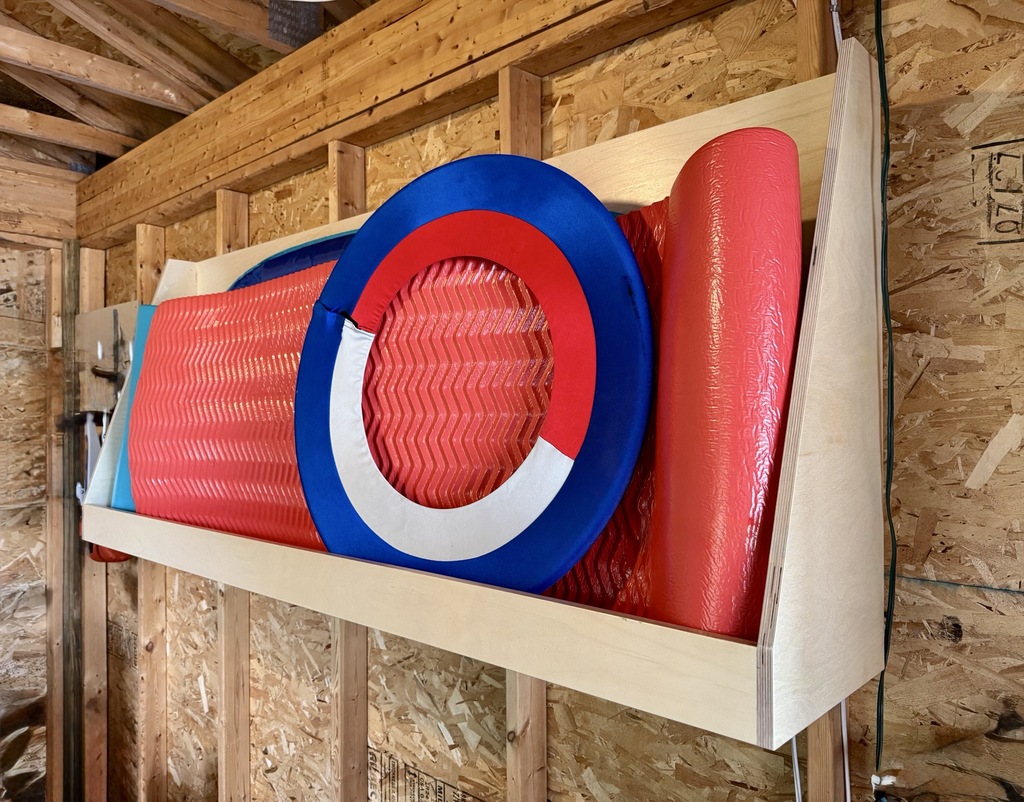
Mats Installed
Room for several pool mats and even some toys.
Lathered in five coats of polyurethane to keep the water out.
Materials and Tools
- Baltic Birch plywood from KJP Select Hardwoods
- Joinery was all done with the Festool Domino
- Waterproof glue was Titebond III
